Tuesday, July 31, 2018

Christmas Card Challenge - Watercolour Background

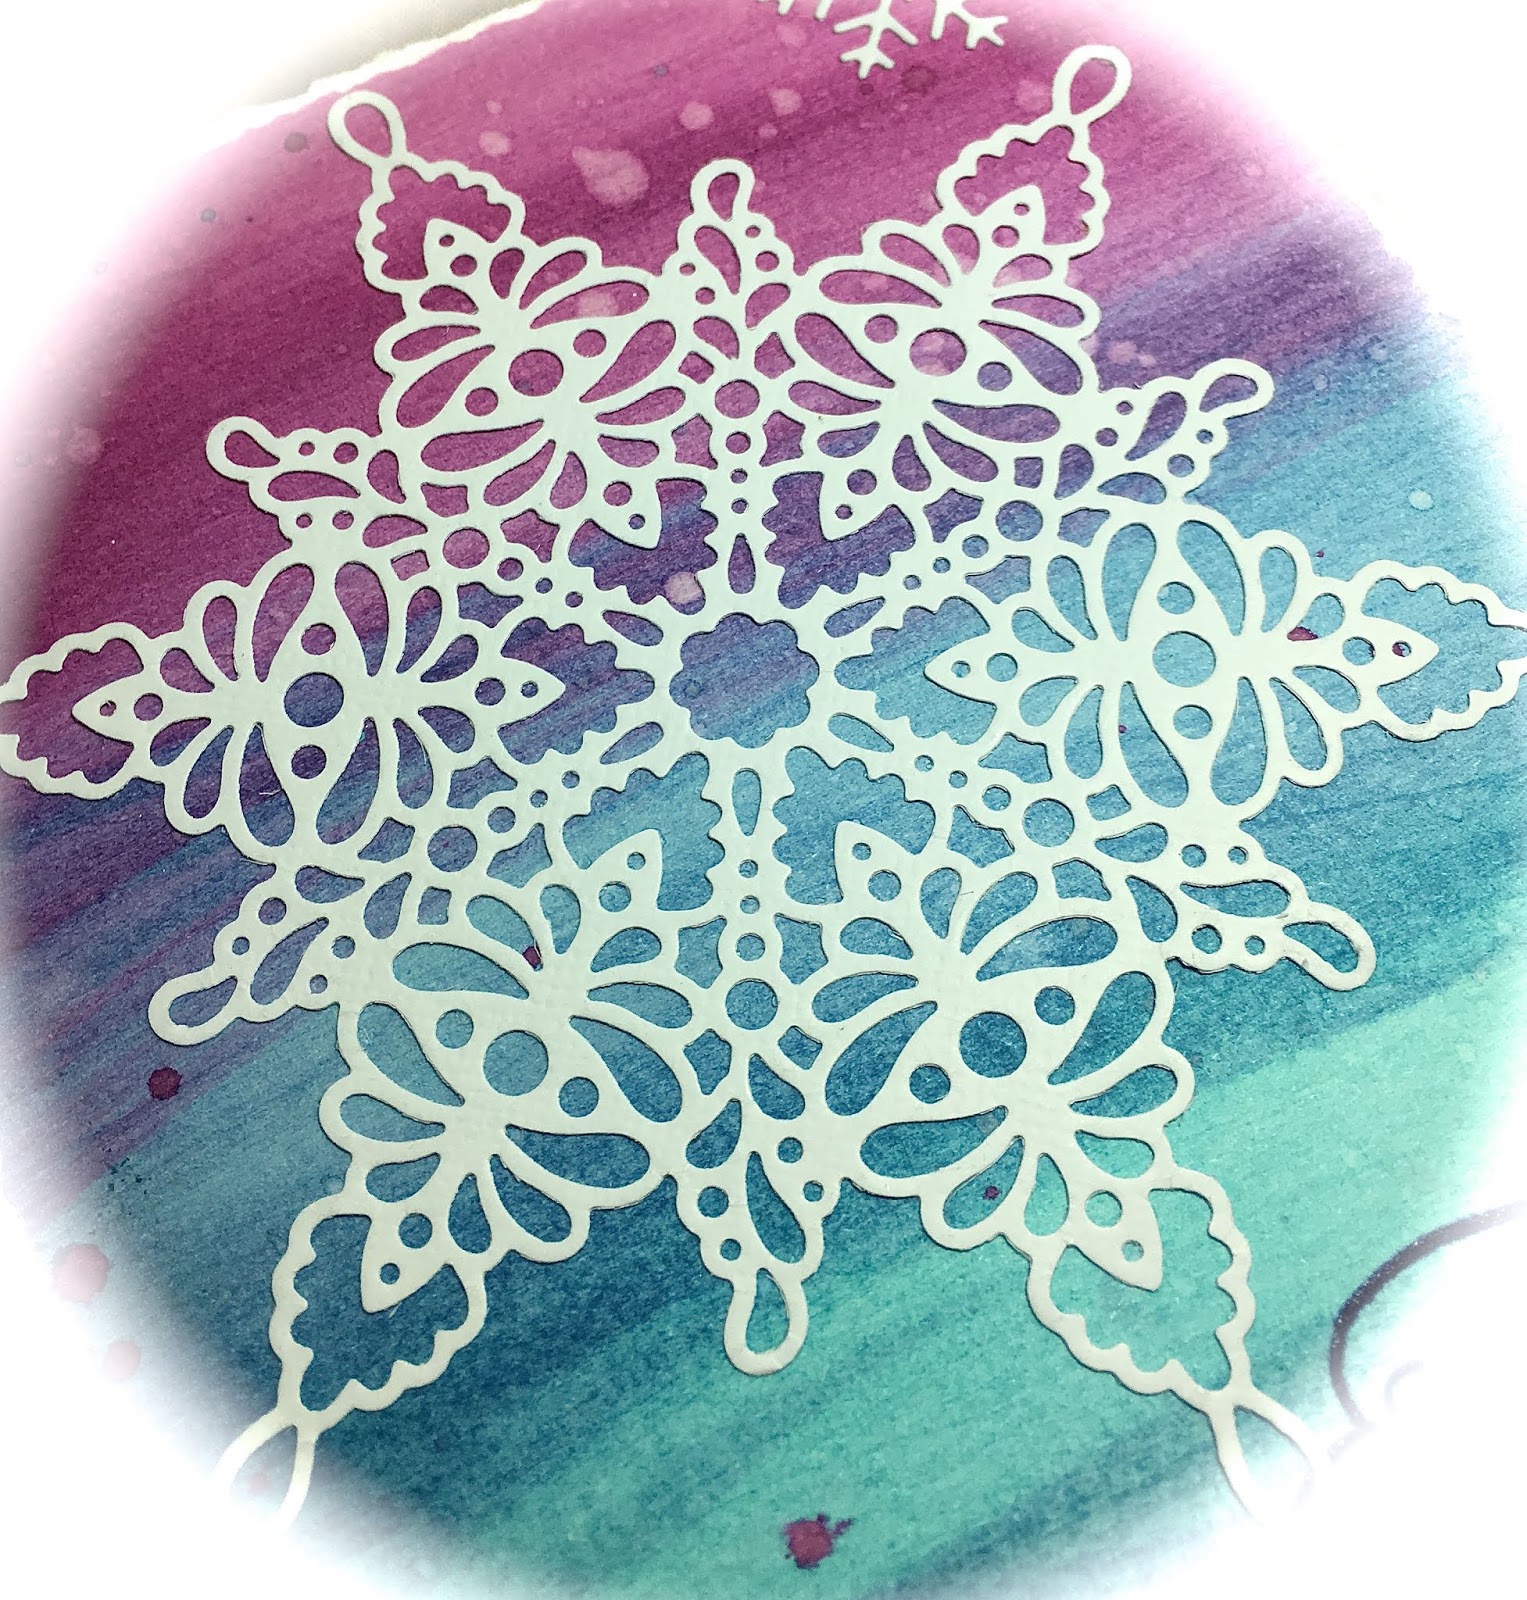
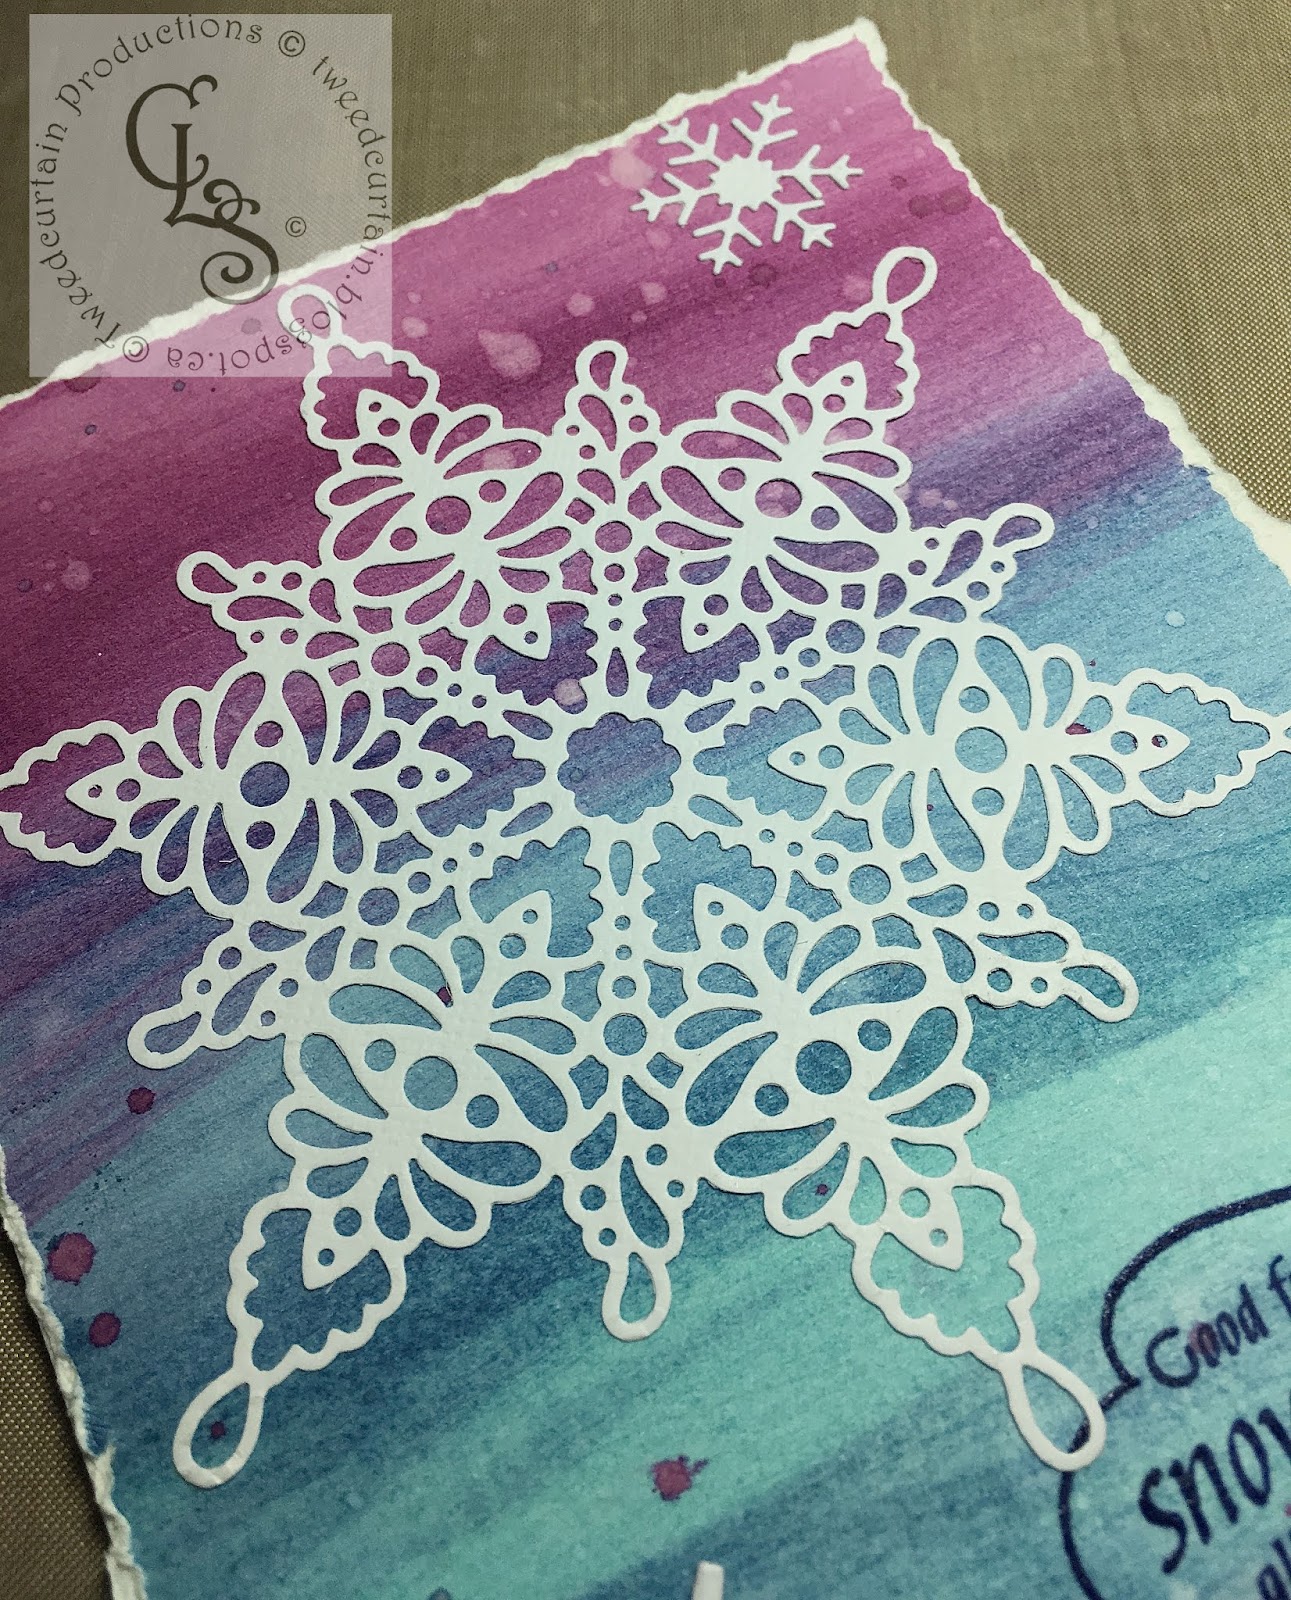
Here I am with a Christmas card for Sylvia's monthly Christmas Card Challenge. This is for the month of April (I am playing catch up after a few months of poor health). Sylvia proposed a white snowflake and a watercolour background for a die cut. I used regular Distress Inks for the background with lots of water and some splatters. I tore the edges to fit a 5 X 7 inch card.

I love this snowflake die for its daintiness. I cut it from American Crafts cardstock and it cut like butter in my Cuttlebug and released with ease. 

I added two other die cut snowflakes because you can never have enough. The beautiful calligraphic quote is a rubber stamp from Quietfire Design that I stamped in blue Versafine ink and clear embossed.


I added shimmer with a Wink of Stella clear shimmer pen and a Spectrum Noir Sparkle Pen in Crystal Clear. I think, of the two, I prefer the latter. Close up below. I'm entering this in the Craftyhazelnuts Christmas Challenge, The Holly and Ivy Christmas Challenge, and the Merry Christmas Challenge. Check them out for great Christmas card inspiration!

Friday, July 6, 2018

Seize the Sequins!


What's a birthday without confetti?

Over at the Seize the Birthday blog the "toppings" optional challenge is sequins. I have a clean and simple card (no stamping involved - eek!) and it features sequins. Take a look:

I used a My Favorite Things Stitched Basic Edges die to create space for an inset of Prima Fairy Flora paper. Same paper was used for the inlaid Avery Elle "celebrate" die cut. The WMS "Peaches and Dream" sequins took their colour cue from the paper.

Thanks for visiting today!

Thursday, July 5, 2018

DCWV July Stack-a-holic Challenge


The paper company Die Cuts With a View has a Facebook challenge for July to use this sketch to create a layout or card, etc.:
I mirrored the sketch and came up with this birthday card:

I used papers from the DCWV Premium Stacks Nana's Nursery Baby Boy - proving the versatility of those papers. I inked the edges with Distress Oxide Inks. The "Party" is die cut from blue cardstock from the DCWV Metallic Stack. I bumped it up with a few layers of plain cardstock die cuts underneath. The sentiment is a retired Waltzingmouse Stamp. The teeny stars are leftovers from the die cut circle.
Thanks for peeking in today! This challenge runs until July 17th, so there is still time for you to enter, too!


Wednesday, June 13, 2018

Black Ice Technique

There is a wonderful tutorial at Splitcoaststampers for the Black Ice Technique, which creates a striated and shimmery effect using metallic cardstock, swipes of black ink, and clear embossing powder. I was intrigued and had a go with some leftover cardstock for my first effort. I mounted it to medium brown cardstock.

Once I saw how cool it looks, I decided to try it with blue metallic cardstock for a beach theme. I mounted the squares onto plain metallic cardstock, then onto black cardstock and I added washi tape.

Here are some close ups, but it is hard to capture the frosty effect:


Thanks for visiting today!

Sunday, June 3, 2018

Freshly Made Sketches #339 X 21!


The Freshly Made Sketch was truly a challenge for me, geometrically speaking. My brain had difficulty getting these triangles just right, as you will soon see:
But I persevered and I made more cards in one day than I have ever made in my life; 21, to be exact! Of course, my favourite ended up being the very last one I made. Go figure.

They are all thank you cards (I currently need a lot), 4.25 X 5.5 inches and mostly different - I was just trying to use up scraps of patterned paper. Some are heat embossed, others are not. Some are more clean and simple and others got fussy. Here they are:

Washi tape strips. Verve stamp. Kaiser Craft paper.
These next cards have a masculine feel so I am entering one of them in the almost-ended Simon Says Stamp Monday challenge.
Waltzingmouse stamps. Memory Box dots and really old Basic Grey designer paper
I have been hoarding saving.


I thought this Waltzingmouse stamp was perfect! 
Memory Box papers, Avery Elle die cut "thanks." 
Stickers my sister gave me and I finally used. 

Lawn Fawn die cut pierced edge.
Washi tape sentiment. Easy peasy! 

The flowers on this paper dictated this flipped layout.
Waltzingmouse stamp, left, and Verve stamp, right. 
Different card bases; this Prima designer paper had so many colours to choose from.
Some glitter washi tape and a Quietfire Design die cut inlaid in card front. I had a mishap
with some StazOn ink so had to add a bit of shading around the top.
SaveSave

Wednesday, May 30, 2018

Second Card for Massive Coffee Lovers Blog Hop


While I had all the supplies out from yesterday's card, I decided to make a second one - this time with a tea theme. I added a little checkerboard stencilling. This is a large format card - 5.5 X 8.5 inches. I needed to go big to fit all the stamps in!

Please go here to see over 1000 cards entered in this blog hop. Thanks for visiting today!

Tuesday, May 29, 2018

2018 Spring/Summer Coffee Lovers Blog Hop


Hello, blog! Long time no see! Here is my card for the 2018:

Today I have a chalkboard card. I forgot how fun these are! I used my MISTI stamp positioner to enable me to stamp and colour, then stamp again and emboss. I chose not to emboss the hearts so they would recede a bit.


I used chalk pencil crayons to add some subtle colour to the flowers and a slight drop-shadow to the "thanks" calligraphy. I drew the border by hand. I used striped washi tape as a temporary guide to help me space my dots in the border like this:

I used a sponge to smudge a bit of chalk ink in the corners and mounted with a few black and white layers to the front of a 5X7 inch card.

Thanks for stopping by. You can see LOTS more caffeinated cards at the official link up blog here. My card is number 860!