Showing posts with label vellum. Show all posts

Wednesday, July 5, 2017

Christmas in July

I tried my hand at some watercolour with this spectacular pine wreath stamp (Pine Burst) from Penny Black. I overdid it and was feeling sort of meh about it. Then I had the brainwave to layer vellum overtop to soften the look and ended up liking it much more.

After stitching the vellum down, I created a JOY stencil cut on my Silhouette Cameo and brushed clear Wink of Stella glitter over it (which I doubt you can see). I dotted the berries in the wreath with red gel pen on top of the vellum to highlight it a bit.

In the end it is a card saved, but I don't think I can keep hiding my watercolour efforts under vellum. Need to practice more and try to get better! This is for Sylvia Durocher's Christmas Card Challenge. The month of July requires a circle and the colour white. Check and Check! 

Thursday, December 24, 2015

Vintage Red Muff


Here is a card I made just by taking an assortment of items and playing around until I got a pleasing composition. It's red and turquoise again. I like the contrast of the black and white girl image (Oxford Impressions) and that red muff.


I put the glitter paper on red cardstock and then started layering ribbon, felt, some vellum and a die cut star doily. Once I knew how it was going to work, I stitched the horizontal elements together and then mounted Miss Red Muff overtop with foam tape. 


The snowflakes are a few Waltzingmouse Stamps die cuts, a plastic button and a felt snowflake freebie from an old magazine.  I like the contrast of the soft felt and the other sturdier shapes. A red heart and red thread help tie it all together.

Thanks for stopping by today!


Saturday, May 11, 2013

Christmas Card Challenge: Glitter!

May is my month to host the Waltzingmouse Stamps Christmas Card Challenge and I have chosen Glitter! for our theme.

My challenge is to use glitter in some form or fashion. I made a few samples to share in the WMS forum. This one is using glitter under acetate.
Stamps: WMS Vintage Ornaments; Paper: Memory Box
I stamped on one side in StazOn Iris ink and then used clear drying glue to apply glitter to the underside. Here's a close-up:


I am a new Silhouette Cameo owner (sooo excited!), and one of the things I have been eager to try is cutting out masks for the Burnished Velvet technique. For the card below, I used the free Bright Season cut files bundle from WMS to create the scroll frame and lantern.
I applied Sookwang double-sided tape to plain cardstock. The Cameo blade cut out the top layer of liner, but not the tape or the cardstock. I peeled away sections of liner and applied glitter one colour at a time. Below you can see where two colours have been applied so far.

The entire card front, except for the leaves, berries and banner, is one layer of glittered-up cardstock. It is smooth to the touch (hence the term "velvet"). It's mounted on metallic copper cardstock.

My last card features a cut file from the Silhouette Online Store for the card base. I thermal embossed the poinsettias and frame with Carbernet Twinkle Embossing Powder. The glitter is a little more subtle here. 

I hope you will join us at WMS to make a few more cards for your Christmas card stash. Details can be found by clicking on the logo at right.

Sunday, December 30, 2012

When Christmas Becomes New Year's

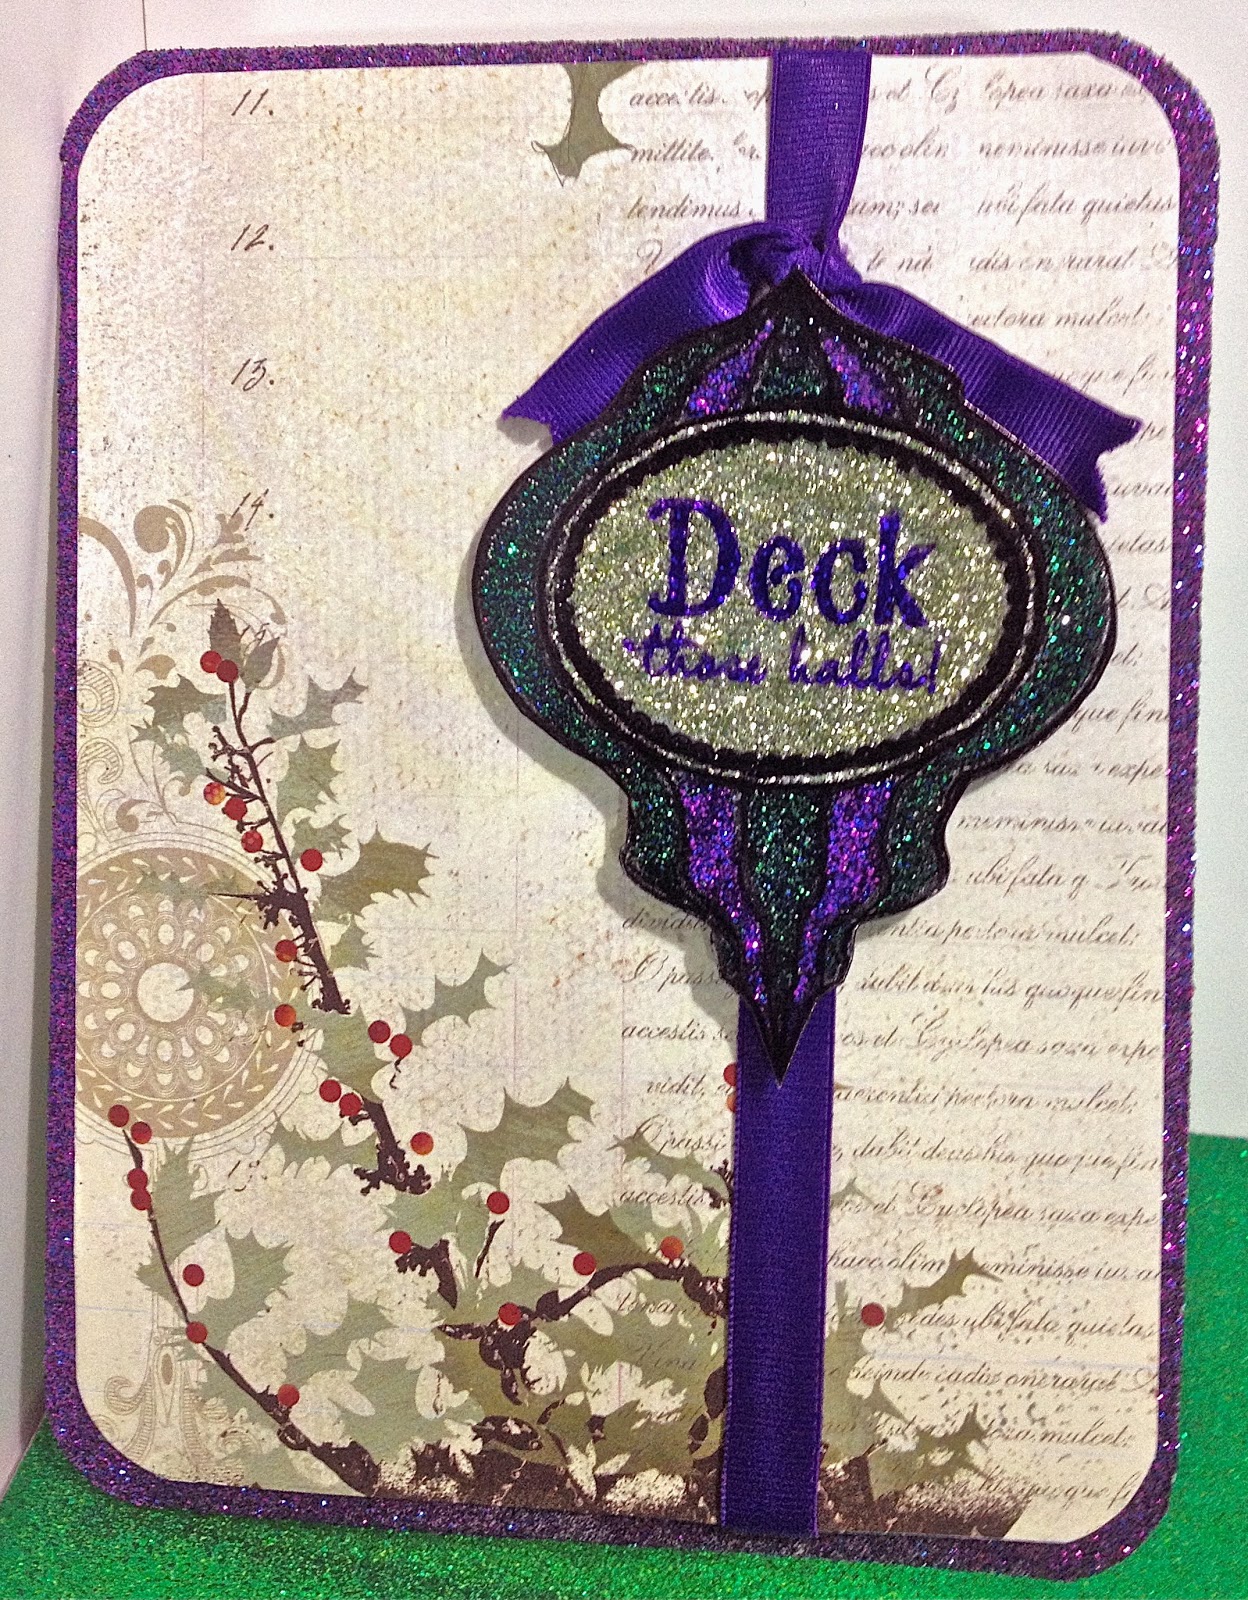
This is a Christmas card that became a Christmas and New Year's card, and if I do not get it hand-delivered soon, it may sprout a Valentine, too!
What you are looking at above is a Diagonal Double Pocket Card, and the tutorial is here. I made the base card about two years ago, using my favourite Christmas paper, but the fact that it does not stand up on its own bothered me. Plus, I did not have anything to put in its pockets! 
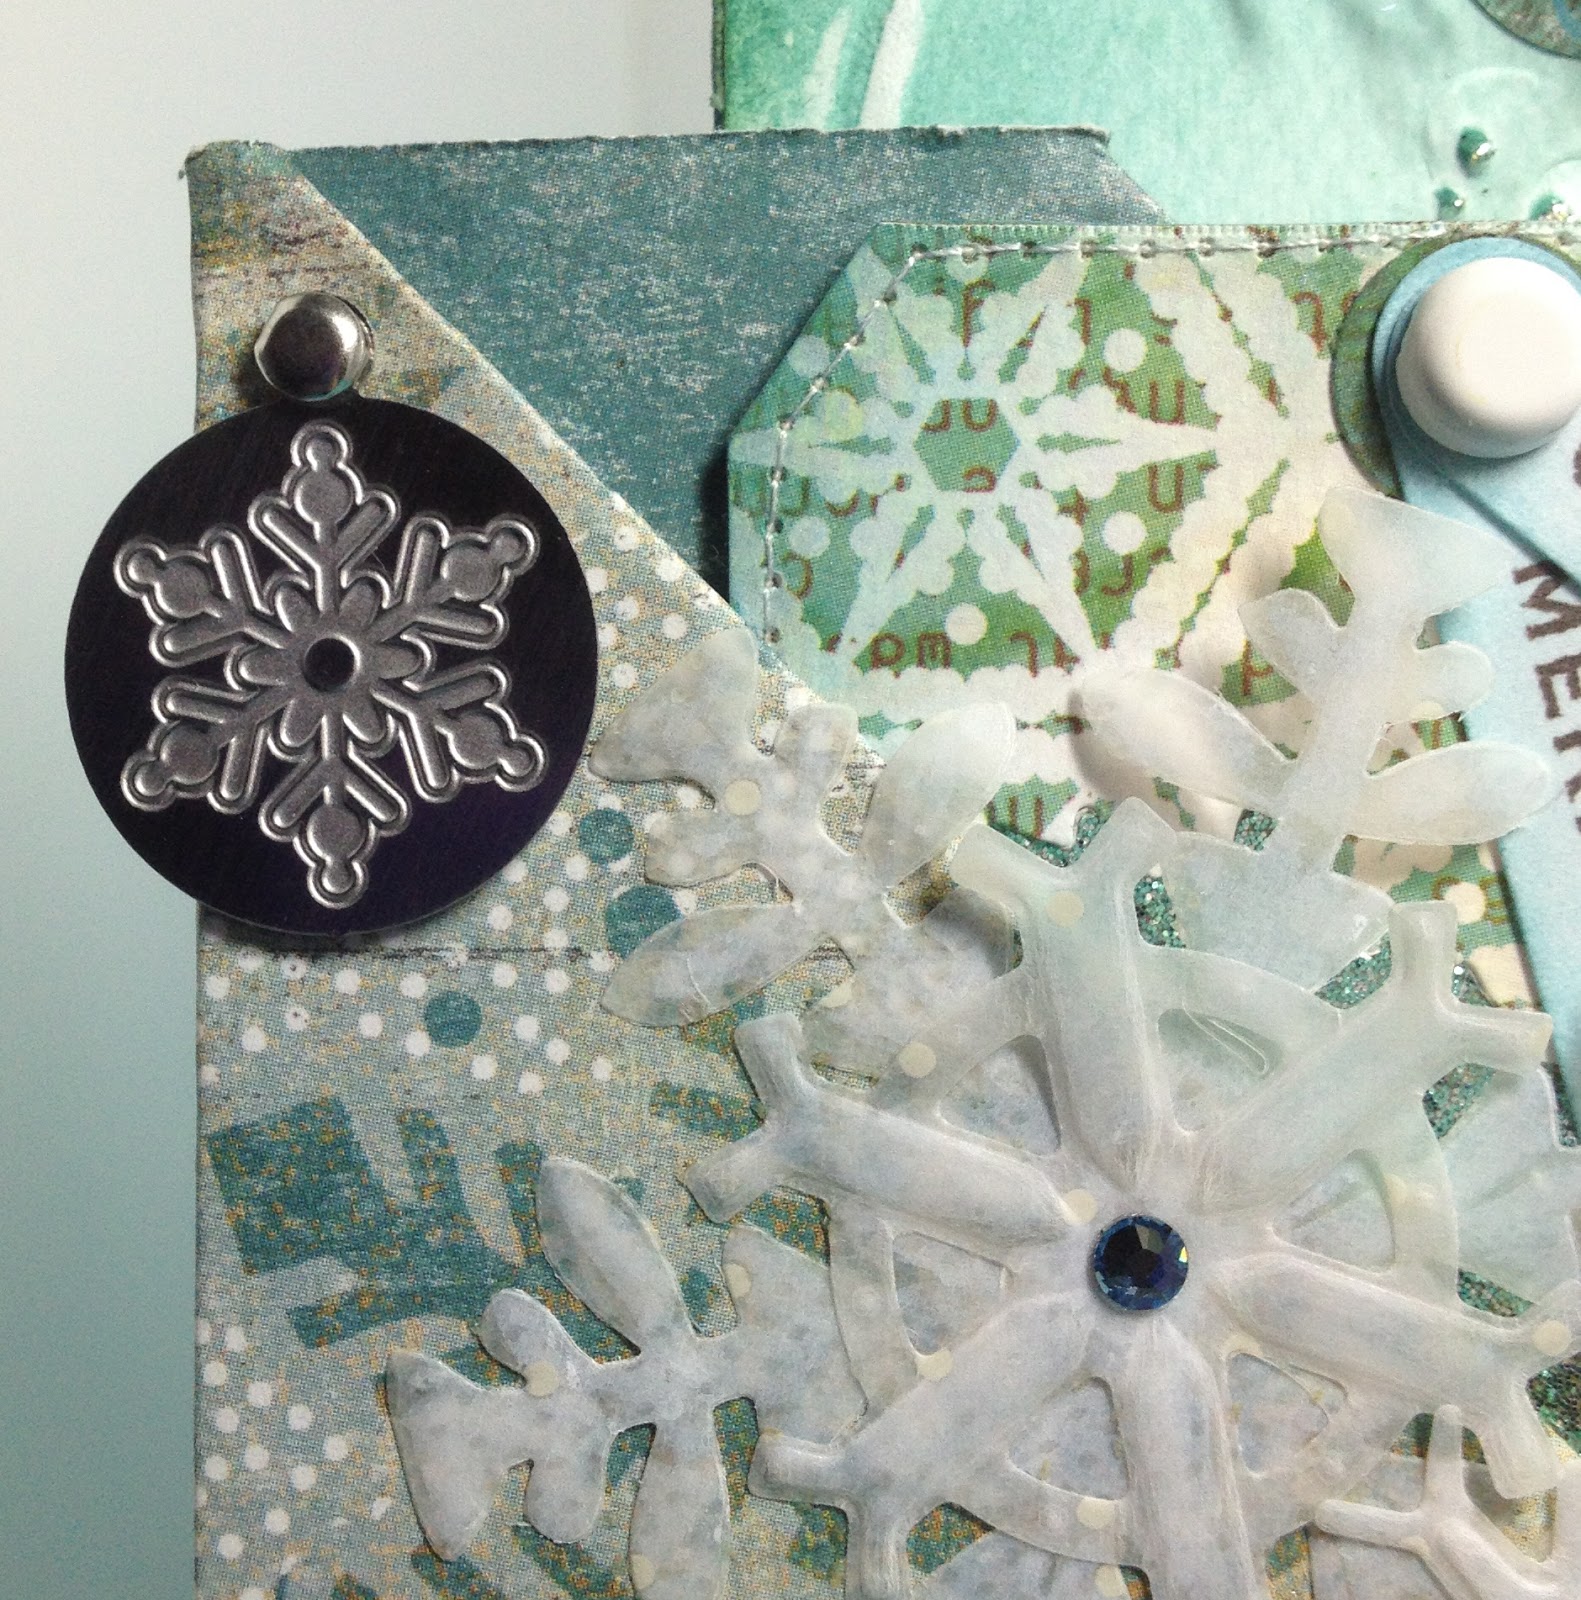
Then last year I made this tag. I loved this tag. I loved it so much I was not willing to part with it last year. I hung it in my studio to enjoy, then placed it in my Christmas card project box to use this year. I recently acquired a die to make card easels, so I was able to solve the upright card conundrum. The easel folds flat and will slide into a pocket in the card. The Merry Christmas tag seemed a good fit for the first pocket.

I used a Quietfire Design stamp for the card cover, and attached vellum snowflakes and Swarovski crystals to the front. A little snowflake charm was added for a bit of bling. Had I made it to my friend's house last week, a personal note would have gone in the second pocket and that would have been fine.
However, here it is Dec. 30 and I have yet to make it out to visit folks. Tomorrow it is! So I needed to add a Happy New Year tag to the affair. Enter the Tim Holtz Sizzix Cracked embossing folder. I embossed the tag, then brayered over it with glue and sprinkled on silver and teal glitter.
The sentiment was stamped on white shrink plastic in blue Stazon ink and heated to shrink it to charm size.
And that is how the Christmas Card became a New Year's greeting, too!

Monday, September 3, 2012

Happy Birthday, "Auntie Mame!"

Stamp credit: Paperbag Studios
Don't you agree? 

This is a card I created for my daughter's extraordinary Great Aunt Dee. That's her in the hat a few years ago with my mom, her big sis, next to her.  I placed a photocopy of the photo under vellum that is scattered with heart flowers. The Emerson quote (The invariable mark of wisdom is to see the miraculous in the common.) on the vertical is a transparency.
The calligraphy at the top is a beautiful rubber stamp from Quietfire Design. Suzanne makes it easy to create with beautiful things. I thought turkey red stitching would go well with this "period" piece so zig-zagged a casual border around the edge. I was really free-wheeling this whole project - just playing and having fun. 
I highlighted Dee by cutting out a circle and rubbing red oil pastel around the rim on the underside. 
I am not going to say how long ago this photo was taken, but these shoes might provide a hint!
I stamped this quotation on the vellum and used pinking shears to cut it out. Then I coloured staples with a red Sharpie and used them to affix it to a popped up white panel on the inside of the card. And that's a wrap!