Showing posts with label Waltzingmouse. Show all posts

Monday, January 2, 2023

Happy New Year Fireworks


Scrap 'n Stamp Challenge Facebook page lists a prompt for each day of the month. The prompt for January 2 is black. I knew right away what I wanted to do as I needed to make a Happy New Year's card to send off in the mail.

I created this 5 inch square card by stencilling a Pretty Pink Posh Fireworks stencil with DecoFoil Transfer Gel Duo on black cardstock. It took an hour to dry. Then I laid Gina K Designs Thermoweb Fancy Foils in Sparkling Silver on top of the tacky surface and ran it through my die cutting machine. I peeled away the plastic top layer and the shimmery foiled fireworks were adhered.

Foil is notoriously difficult to photograph and depending on how the light hits this, it can look all black and silver or a myriad of colours. I finished it with a stamped and die cut HAPPY from Taylored Expressions and New Year is an old Waltzingmouse stamp. If you want to play in the challenge details are below and you can post anywhere using #SNSCHALLENGE:




Monday, October 10, 2022

World Cardmaking Day Challenge #3


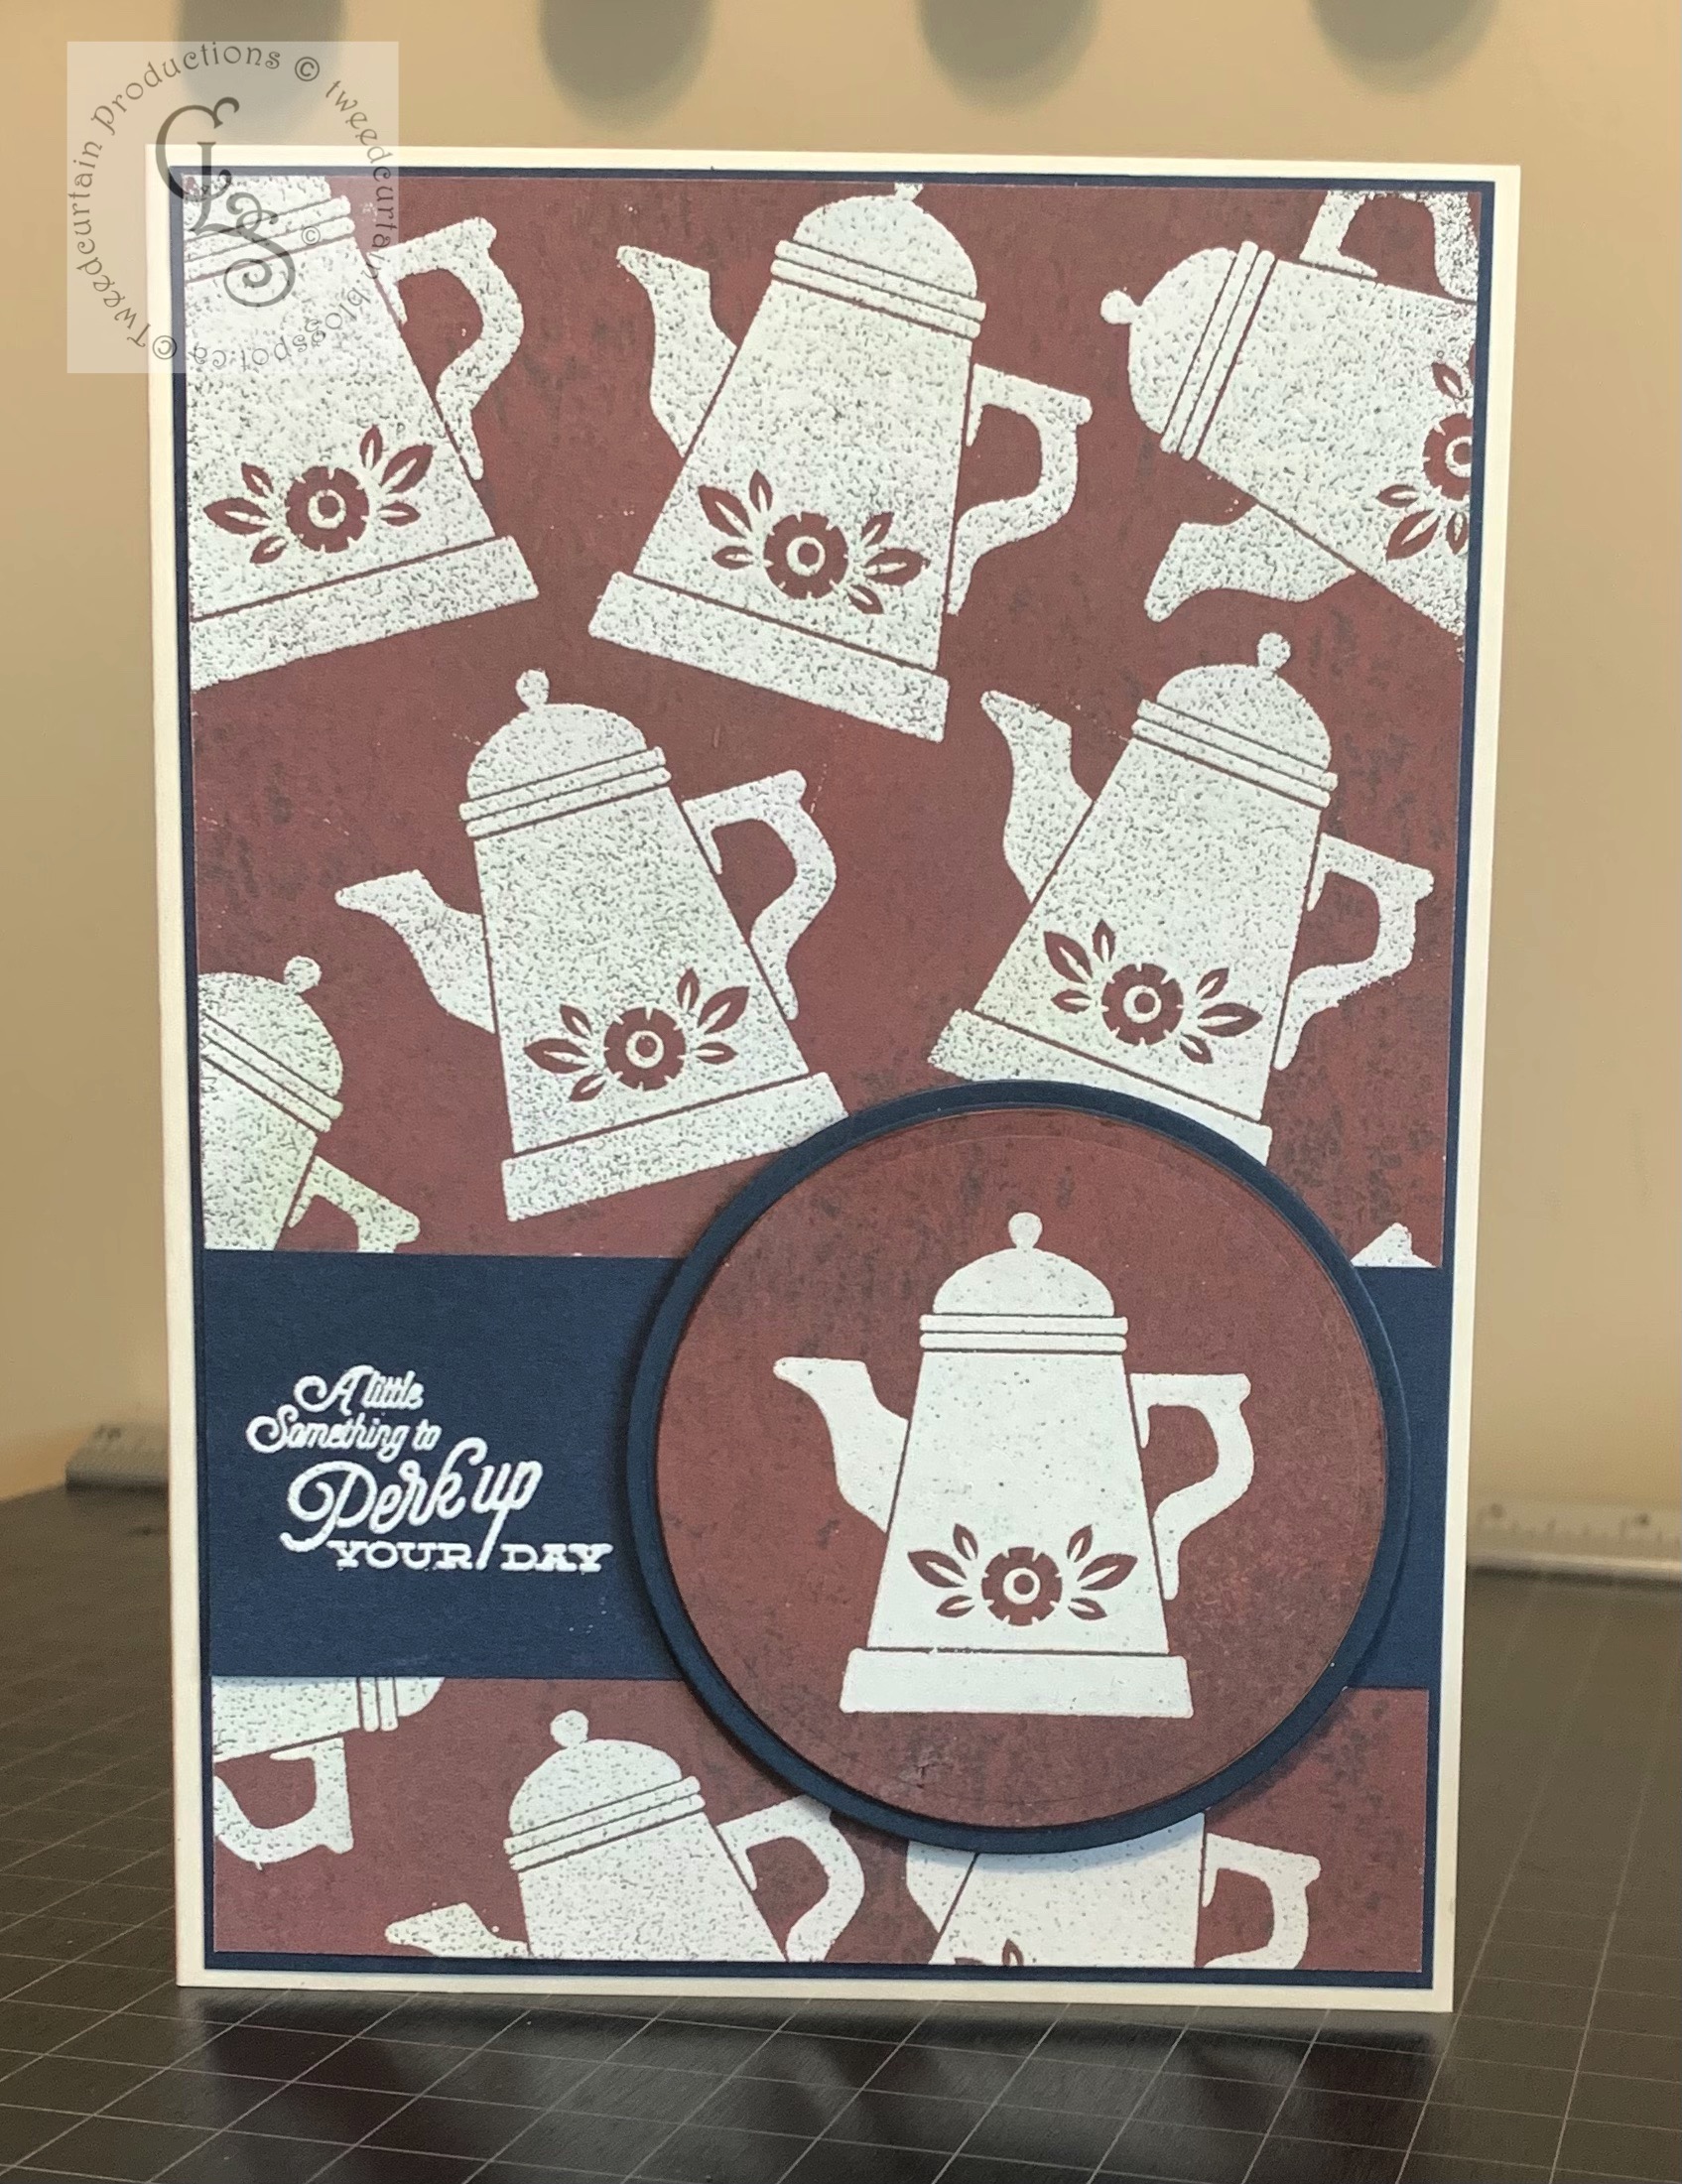
The third World Cardmaking Day Challenge from Scrapbook & Cards Today was to use one stamp for the background and the focal image of a card. I chose this coffee pot from Waltzingmouse Stamps as I needed a masculine birthday card for a coffee lover. 


Sunday, April 14, 2019

Can't "Shake" The Purple Kick


Made another purple card since my last post. I was in my local stamp store yesterday (Stampers!) and picked up a magazine to send to my sister for Easter. It included a combination embossing folder and die. I've never seen such a thing before and was intrigued. So much so that I had to open it up and test it out before sending to her. It has a matching butterfly die to fit in the aperture and some sentiment stamps as well as some decorative papers.

I decided to make Sis a shaker card with her stuff. :-) I was gifted this gorgeous purple satin metallic cardstock so ran that through my Cuttlebug with the folder. The normal "2 B plates" sandwich was a bit tight so I used the C plate and a few shims instead. The relief is quite pronounced on this folder.

I heat-embossed the butterfly with a sparkly gold embossing powder and edged the sentiment with the same. Here's some more photos to try to convey the embossed cardstock sheen and the glittery goodness.  The card is 5 X 7 inches. Thanks for stopping by!

Sunday, February 17, 2019

Rinse and Repeat!

Yesterday I posted a card for the Seize the Birthday Anything Goes #159 Challenge and I am back today with a second entry. You can never have too many birthday cards.
The patterned paper and Spellbinders dies did most of the work here. The small cluster of flowers (W Plus 9 Very Vintage Florals) was stamped and fussy cut with scissors and popped up with foam tape.  The clear-embossed sentiment is a retired Waltzingmouse stamp. A strip of dollar store gemstones finished it off nicely.

Still time to play along.


Saturday, January 26, 2019

Valentine Card Candy

A few years ago "Card Candy" was all the rage in certain stamping circles. I was always intrigued but never got around to trying it. A swap is the perfect way to get me to try new things, and my Canadian paper crafts swap group chose this for one of our January 2018 swaps.

The idea is to create card embellishments that would be perfect to add to a card front. Then package them up like store-bought embellishments. (Yes, paper crafters are crazy this way.)

I backed my sets with bingo cards which were a digital file (Jenni Bowlin Studio) that I printed out. 
I went for a red and aqua theme for my card candy. I shopped my craft room for items in those colours and had fun using scraps and bits and bobs. This was a transparency I had printed out for another project that I had extras of. 

These hearts are just layers of cardstock, felt and vellum that I cut out with Spellbinders dies.
I used another Spellbinders die and the Tim Holtz rosette die to make this heart. I added silver crinkled threads and silver glitter. The banner features a Waltzingmouse Stamp.
My favourite piece is this rubber stamped thread spool. The red satin ribbon I used was the perfect width. I hand-sewed a button on the felt hearts.

I made three sets:
Here's a shot of the packages all put together and wrapped in cellophane.
And the back:

Hope you enjoyed seeing these. I enjoyed making them and they are in the post now making their way to my swap partners.

Monday, December 10, 2018

A Winter Birthday


I wish you could see this card's background in real life. I had a lot of fun making it. I started out with a background of alcohol inks in blues and purples. Then I lifted off snowflake shapes with Alcohol Lift Ink. 

Then I added some holographic heat-embossed snowflakes for some shimmery fun. They just show up when the card is tilted.
Lastly, I ran the background through my Cuttlebug with a snowflake embossing folder. It added a bit more subtle texture. I didn't want to cover up too much of the background, so I kept the Copic coloured bird and sentiment minimal. 
Thanks for visiting today! I am entering this in the Facebook Scrap 'N Stamp Challenge Page for the current All That Sparkles Challenge. 

Monday, August 13, 2018

The Bee's Knees!

The Simon Says Stamp Monday Challenge Blog calls for sprinkles and splatters. I have a few fun cards that I have made with that in mind. Each of them follows a similar format. 


Memory Box card base, washi tape, Waltzingmouse Stamps bees and
sentiment. Black Soot Distress Ink sprinkles.

I created a beehive overlay from white cardstock on my Silhouette Cameo by manipulating a purchased file from the Silhouette Online Store called Beehive Background by Hero Arts, Design ID #38548. Each of the following cards were created with a Distress Oxide inked background with varied amounts of water splatters. 


For the following cards, I used the negative pieces from the Beehive Background.
Black photo corners used to frame these busy bees.
Hexagons were inked with Distress Oxide inks.

A few black gems and some glitter on the
bees' wings add a bit of sparkle.
It was fun, once I got in the groove, to make a batch of these bee-autiful cards! Thanks for visiting today!


Tuesday, August 7, 2018

My Kind of Guy

I am sharing here masculine cards I made using a Dreaming Tree project cut file. This is a fun shutter card that makes a great Father's Day or birthday card for the man in your life.

My first one was for my husband for Father's Day. I used Tim Holtz Paper Stash papers, as well as some other scraps, and an old photo of my husband and daughter for the insert. The photo is revealed as the action of opening the gatefold card opens the heart-shaped aperture. This provides that WOW factor. The bow tie band slides off.

My second card was for a card exchange and so I needed it to be a bit more generic. I used Tim Holtz Paper Stash papers again and instead of a photo inside, I did some rubber stamping. For the eyeglasses, I used silver Silhouette brand printable foil instead of the pearl paper used in the first card, and a textured glossy metallic paper for the bowler hat.


I think the papers really compliment the retro style of the Waltzingmouse rubber stamps used.
I used a rainbow stamp pad to get a gradated effect to the words.
For this second card, I made the bow tie with a magnetic closure so instead of sliding the band off, it comes undone easily by pulling apart. Here's what that looks like.


The recipient gave this card to her husband for his birthday, which was such an honour for me. She said she did not want to give it away so by giving it to him, she still gets to have it around. So I am entering this card in the Male Room Challenge which is for a male birthday card as that challenge is celebrating its fifth year.

Thanks for visiting today. If you have an electronic cutting machine I highly recommend Dreaming Tree files. They have useful videos showing how to put together the cards or 3D paper items. In the case of this file, there are even helpful divots built into the design to help align the various pieces. The hardest part for me was just deciding on which coordinating papers to use!